NCERT Notes For Class 6 Maths Chapter 5 Understanding Elementary Shapes
Understanding Elementary Shapes Introduction
All the shapes we see around us are formed using curves or lines. We can see comers, edges, planes, open curves, and closed curves in our surroundings.
We organize them into line segments, angles, triangles, polygons, and circles. We find that they have different sizes and measures. Let us now try to develop tools to compare their sizes.
NCERT Notes For Class 6 Maths Measuring Line Segments
We have drawn and seen so many line segments. A triangle is made of three, and a quadrilateral of four line segments. A line segment is a fixed portion of a line.
This makes it possible to measure a line segment. This measure of each line segment is a unique number called its “length”. We use this idea to compare line segments.
To compare any two line segments, we find a relation between their lengths. This can be done in several ways.
Read and Learn More NCERT Notes for Class 6 Maths
1. Comparison by observation:
By just looking at them can you tell which one is longer?
You can see that \(\overline{\mathrm{AB}}\) is longer.
But you cannot always be sure about your usual judgment.
For example, look at the adjoining segments:
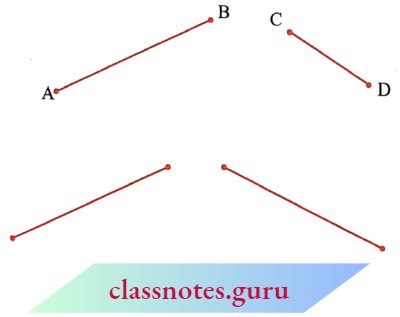
The difference in lengths between these two may not be obvious. This makes other ways of comparing necessary.
In this adjacent figure, \(\overline{\mathrm{AB}} \text { and } \overline{\mathrm{PQ}}\) have the same lengths. This is not quite obvious.
So, we need better methods of comparing line A segments.

2. comparison by tracing
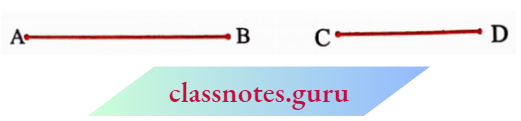
To compare \(\overline{\mathrm{AB}} \text { and } \overline{\mathrm{CD}}\), we use a tracing paper, trace \(\overline{\mathrm{CD}}\), and place the traced segment on AB.
Can you decide now which one among \(\overline{\mathrm{AB}} \text { and } \overline{\mathrm{CD}}\), is longer?
The method depends upon the accuracy of tracing the line segment. Moreover, if you want to compare with another length, you have to trace another line segment.
This is difficult and you cannot trace the lengths every time you want to compare them.
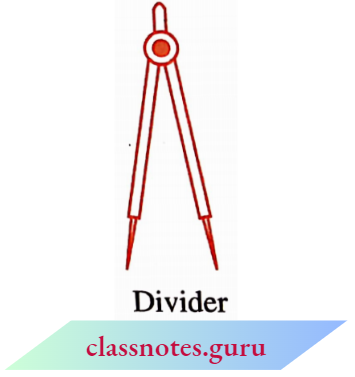
3. Comparison Using Ruler and a Divider
Have you seen or can you recognize all the instruments in your instrument box? Among other things, you have a miler and a divider.
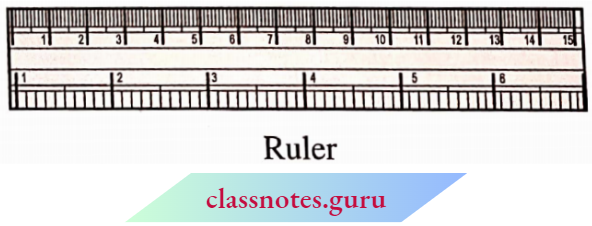
Note how the meter is marked along one of its edges. It is divided into 15 parts. Each of these 15 parts is 1cm in length. Each centimeter is divided into subparts. Each subpart of the division of a cm is 1mm.
How many millimeters make one centimeter? Since 1cm = 10 mm, how will we write 2 cm? 3mm? What do we mean by 7.7 cm?
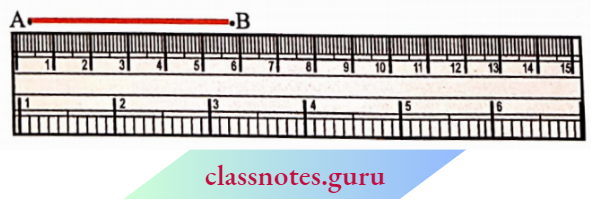
Place the zero mark of the meter at A.
Read the mark against. This gives the length of \(\overline{\mathrm{AB}}\). Suppose the length is 5.8 cm, we may write, Length AB = 5.8 cm or more simply as AB = 5.8 cm.
There is room for errors even in this procedure. The thickness of the meter may cause difficulties in reading off the marks on it.
Let us use the divider to measure length.
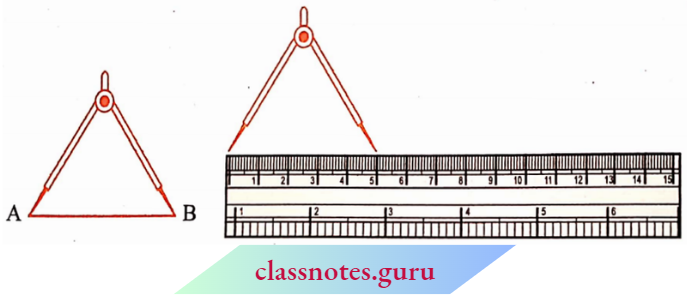
Open the divider. Place the end point of one of its arms at A and the end point of the second arm at B.
Taking care that the opening ofthe divider is not disturbed, lift the divider and place it on the ruler. Ensure that one endpoint is at the zero mark of the ruler. Now read the mark against the other endpoint.
Angles Right And Straight
You have heard of directions in Geography. We know that China is to the north of India, and Sri Lanka is to the south. We also know that the Sun rises in the east and sets in the west. There are four main directions.
They are North (N), South (S), East (E) and West (W). Do you know which direction is opposite to the north? Which direction is opposite to the west? Just recollect what you know already.
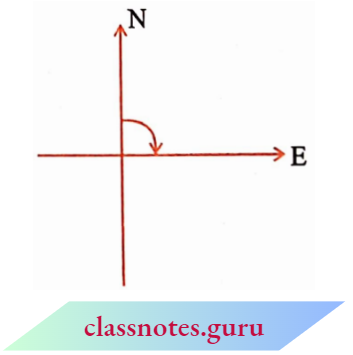
We now use this knowledge to learn a few properties about angles. Stand facing north.
Turn clockwise to the east.
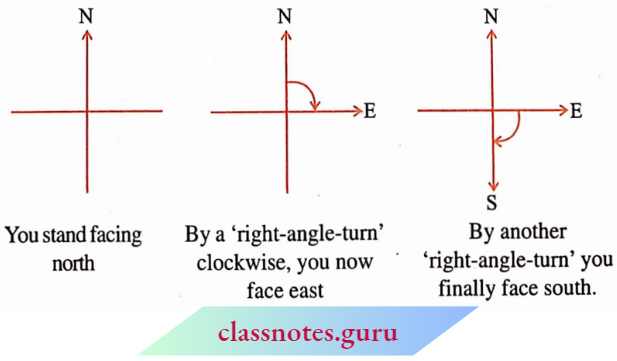
We say you have turned through a right angle. Follow this with a ‘right-angle-tum’, clockwise.
You now face south. If you turn by a right angle in the anti-clockwise direction, which direction will you face? It is east again! (Why?) Study the following positions
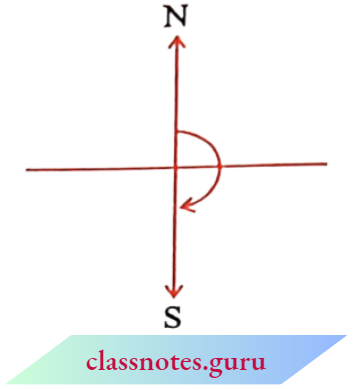
From facing north to facing south, you have turned by two right angles. Is not this the same as a single turn by two right angles? The turn from north to east is at a right angle.
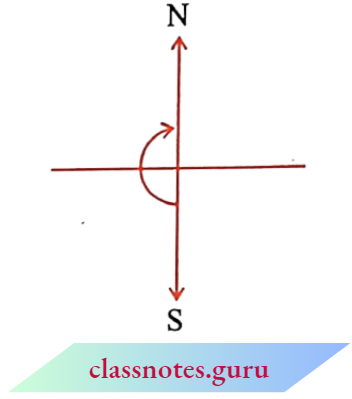
The turn from north to south is by two right angles; it is called a straight angle. (NS is a straight line) Stand facing south.
Turn by a straight angle. Which direction do you face now? You face north! To turn from north to south, you took a straight-angle turn, again to turn from south to north.
You took another straight-angle turn in the same direction. Thus, turning by two straight angles you reach your original position.
By how many right, angles should you turn in the same direction to reach your original position? Turning by two straight angles (or four right angles) in the same direction makes a full turn.
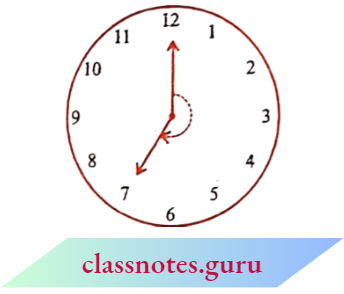
This one complete turn is called one revolution. The angle for one revolution is a complete angle. We can see such revolutions on clock faces.
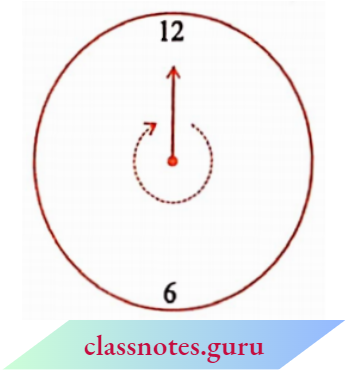
When the hand of a clock moves from one position to another, it turns through an angle.
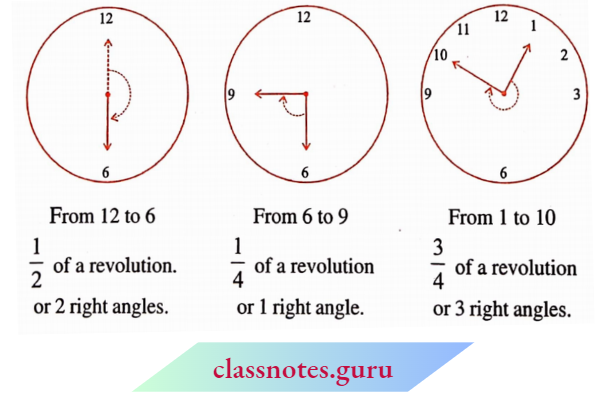
Suppose the hand of a clock starts at 12 and goes round until it reaches 12 again. Has it not made one revolution? So, how many right angles has it moved? Consider these examples
NCERT Notes For Class 6 Maths Angles Acute Obtuse And Reflex
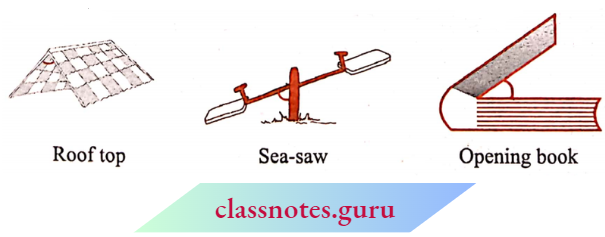
We saw what we mean by a right angle and a straight angle. However, not all the angles we come across are one of these two kinds.
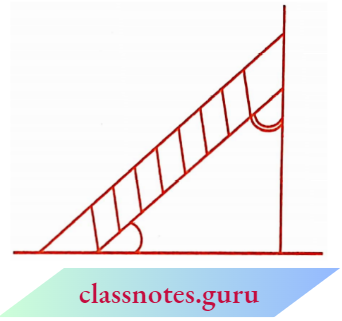
The angle made by a ladder with the wall (or with the floor) is neither a right angle nor a straight angle.
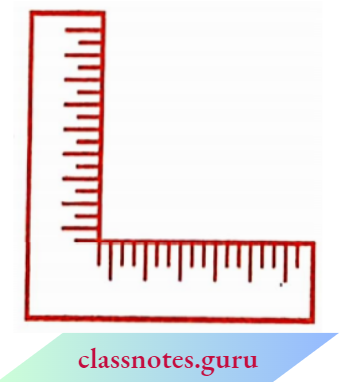
Are there angles smaller than a right angle? Are there angles greater than a right angle? Have you seen a carpenter’s square? It looks like the letter “L” of the English alphabet.
He uses it to check right angles. Let us also make a similar ‘tester’ for a right angle.
Other Names
1. An angle smaller than a right angle is called an acute angle. These are acute angles
Do you see that each one of them is less than one-fourth of a revolution? Examine them with your RA tester.
2. If an angle is larger than a right angle but less than a straight angle, it is called an obtuse angle. These are obtuse angles.
Do you see that each one of them is greater than one-fourth of a revolution but less than half a revolution? Your RA tester may help to examine.
Identify the obtuse angles in the previous examples too.
3. A reflex angle is larger than a straight angle. It looks like this. (See the angle mark) Were there any reflex angles in the shapes you made earlier? How would you check for them?
Measuring Angles
The improvised ‘Right-angle tester’ we made is helpful to compare angles with a right angle. We were able to classify the angles as acute, obtuse, or reflex.
But this does not give a precise comparison. It cannot find which one of the two obtuse angles is greater. So in order to be more precise in comparison, we need to ‘measure’ the angles. We can do it with a ‘protractor’.
The measure of angle
We call our measure, ‘degree measure’. One complete revolution is divided into 360 equal parts. Each part is a degree. We write 360° to say ‘three hundred sixty degrees’.
The Protractor
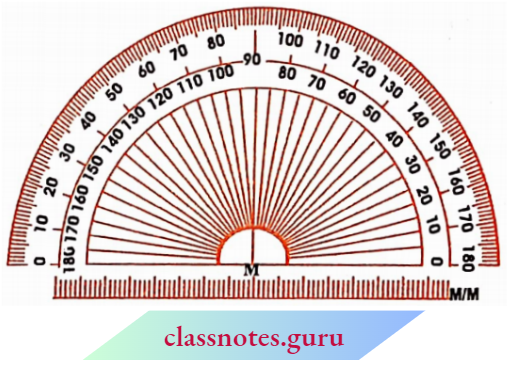
You can find a readymade protractor in your ‘instrument box’. The curved edge is divided into 180 equal parts.
Each part is equal to a ‘degree’. The markings start from 0° on the right side and end at 180° on the left side, and vice versa.
Suppose you want to measure an angle ABC.
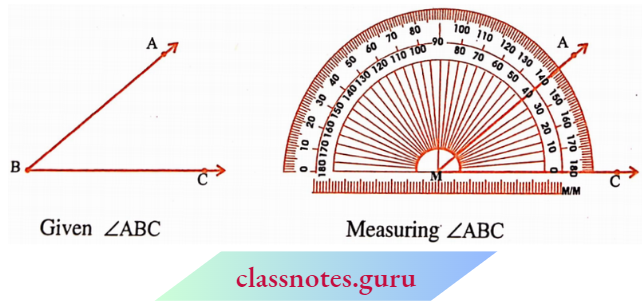
- Place the protractor so that the midpoint (M in the figure) of its
straight edge lies on the vertex B of the angle. - Adjust the protractor so that \(\overline{\mathrm{BC}}\) is along the straight edge ofthe protractor.
- There are two ‘scales’ on the protractor: read that scale which has the 0° mark coinciding with the straight edge (i.e. with ray BC )
- The mark shown by \(\overline{\mathrm{BC}}\) on the curved edge gives the degree measure of the angle.
We write m ∠ABC= 40°, or simply ∠ABC= 40°.
NCERT Notes For Class 6 Maths Perpendicular Lines
When two lines intersect and the angle between them is a right angle, then the lines are said to be perpendicular. If a line AB is perpendicular to CD, we write \(A B \perp C D \text {. }\) .
If \(A B \perp C D\), then should we say that \(\mathrm{CD} \perp \mathrm{AB}\) also?
Perpendiculars around us!
You can give plenty of examples from things around you for perpendicular lines (or line segments). The English alphabet T is one. Is there any other alphabet that illustrates perpendicularity?
Consider the edges of a postcard. Are the edges perpendicular?
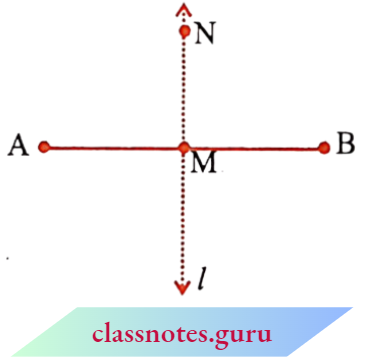
Let \(\overline{\mathrm{AB}}\) be a line segment. Mark its midpoint as M. Let MN be a line perpendicular to \(\overline{\mathrm{AB}}\) through M.
Does MN divide \(\overline{\mathrm{AB}}\) into two equal parts? MN bisects \(\overline{\mathrm{AB}}\) (that is, divides \(\overline{\mathrm{AB}}\) into two equal parts) and is also perpendicular to \(\overline{\mathrm{AB}}\).
So we say MN is the perpendicular bisector of \(\overline{\mathrm{AB}}\). You will learn to construct it later.
Quadrilaterals
A quadrilateral, if you remember, is a polygon that has four sides.
NCERT Notes For Class 6 Maths Polygons
So far you studied polygons of 3 o r4 sides (known as triangles and quadrilaterals respectively). We now try to extend the idea of polygon to figures with more sides. We may classify polygons according to the number of their sides.
image-
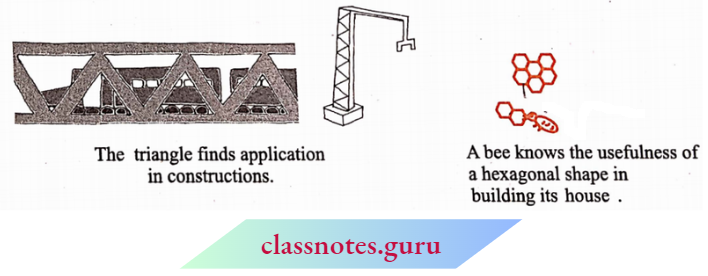
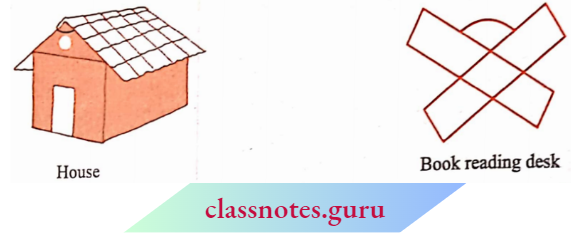
You can find many of these shapes in everyday life. Windows, doors, walls, almirahs, blackboards, notebooks are all usually rectanglular in shape. Floor tiles are rectangles. The sturdy nature of a triangle makes it the most useful shape in engineering constructions.